A few years ago, I was fascinated by the possibilities as a friend described the capability of making your own personal cloud server using a Raspberry Pi and a storage device. I thought, “hey, that’d be neat. I can pay for someone to hold onto all of my stuff, or I can keep it myself.”
Of course, there are advantages to having someone take care of it for you. Redundancy, some level of security, expertise – all good. But still…my very own cloud storage? Sounded pretty cool.
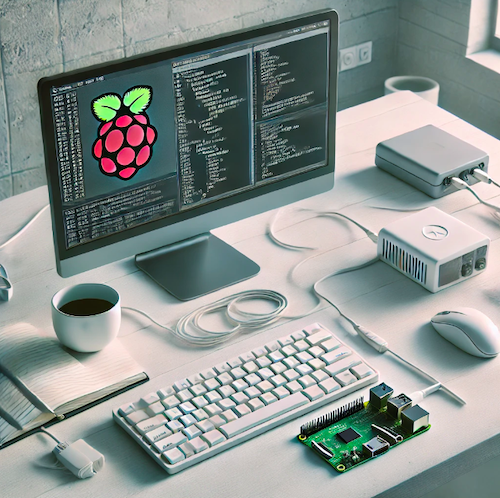
My friend was kind enough to both give me a Raspberry Pi and also set it up (an absolutely Herculean task for someone like me). I gave him a terabyte of storage and I was set…except, it didn’t really go that well. He just couldn’t get it to work consistently – it seems there was a problem with my apartment’s internet; and even if he could have, I really wasn’t grasping all of the intricacies. Chalk up another factor for the big boys – simplicity.
After my friend’s departure from Korea, and further feeble attempts on my part, the Pi found its way to my desk drawer at work, where it was forgotten for the past three years.
Until the other day, when I was talking to someone else about how I didn’t think I was getting my money’s worth out of a ChatGPT subscription. In the course of the conversation, something came up about programming, and I remembered the Pi. So I logged in and asked the AI “Can you tell me how to set up a Raspberry Pi as a server?” and it came back with, “Setting up a Raspberry Pi as a server is a popular and versatile project. Below is a step-by-step guide to help you set up your Raspberry Pi as a basic server…”
I was onto something. I went out, bought a new MicroSD card, grabbed the Pi and got to work.
I’m not going to get into the details here. I’m just going to give you a gist of how it went, what when wrong, and what went right (and why).
First off, when it gave me the step-by-step guide, it didn’t give me much. I had to decide what kind of server I wanted. Then, as I narrowed it down, the instructions became a bit more precise.
The problem was, though, that ChatGPT didn’t know enough. I didn’t tell it that I was completely ignorant when it came to programming. This isn’t too bad though – the AI generated all of the code [it thought] I needed, in neat, copiable little lines, that I could turn around and punch into the Pi with the keyboard and monitor I’d attached. But still…there was this thing about something called “ssh” (whatever that was — I’ll ask ChatGPT) which would give me the capability to sit on my own Macbook and just copy and paste out of ChatGPT into a terminal window that was linked to the Pi. It took me a couple of tries – several hours or work actually – to get that one figured out. Thing is, I was enjoying myself, even when it wasn’t working out. I ended up reformatting the SD card three times and starting over again before I understood what I needed to do. Here are some helpful hints if you’re so inclined:
First, tell it how much you know. I had to tell ChatGPT that I was an idiot so it would lower its expectations of me.
Next, tell it exactly what you want to do with what kind of equipment you have to do it. For example, when I told it what I was using for a storage device, it was able to customize some of the steps for me.
After that, give it clear instructions about how to present the information back to you. The first few times I tried the project, I’d say “tell me how to make a cloud server,” and it would come back with twenty different steps to get there. Problem with that was I’d get to step 3, something would go wrong, and then I’d have to ask it how to fix the problem. This had me scrolling past 17 other steps, working on it 3 different ways, and then having to scroll waaaay back up to step 4 when I was done. My “conversations” with ChatGPT ended up being a tangled mess. “Where did it tell me to restart that database?” “What was that workaround it had me use to get past that step?”
Here’s how I got past that problem: I asked ChatGPT to break the whole thing down into manageable steps and to not go on until I’d completed a step. When I did that, it would say something like, “Download program ‘x,’ load it, then change the configuration by doing this,” followed by “when you’ve done that, let me know and I’ll take you to the next step.” Sweet. And easy.
Next, be sure to ask for clarification if something doesn’t make sense or looks wrong to you. The thing about AI (right now) is that it’s infinitely patient. Don’t worry if you have to ask it ten different ways how (or why) to do something. I would often execute a command and get a result that wasn’t quite the same as ChatGPT told me it would be. Easy – just go into the terminal window, copy what it says, and paste it back into ChatGPT. “It looks like you have a redundant line in your file. Here’s how you fix that.” Believe me, asking to the point of perfect clarity up front prevents you from getting 30 lines down the process and having to start all over again because you misunderstood what ChatGPT was telling you to do. This happened to me a couple of times when I just could not get something to work and it turned out it was only because I was entering the code in the wrong way or in the wrong place.
Through it all, read carefully, ask questions, and be patient. I thought maybe I’d never get it done the first couple of times I failed. Maybe it was going to be too hard. But then things started clicking. I was starting to understand some of what I was doing. I was taking things in manageable chunks. I was even getting what some of the code meant (if you really want to know what command means, ask ChatGPT and It’ll explain it to you).
Lastly, Take breaks. It took me three decent evenings to get the whole thing where it is now (and there’s still work to do). ChatGPT would take me as far as I wanted to go, and then when I said, “I’m going to bed,” it’d come back cheerfully with, “Taking a break every so often is a good plan! Get some rest and finish when you’re ready.” It all fell fairly well into line really. The first night, I set the cloud up on my local network. The second night, I secured it, got some certificates, and put it up live worldwide. The third night, I worked my interface and got my photos to auto-upload to the cloud. Now it’s just a matter of tweaking it. I’ve got another storage device, so I’ll probably build a backup system. And maybe I’ll ask ChatGPT to design a 3D printed “server” rack for it all when I’m done.
Could be another popular and versatile project…